Give-Away Printable Collage Download

Often it is fun to insert images that inspire you into your journal. Many journal artists trade Printables--collage images or other nifty items. Next time you are working on a collage a background, try adding a few pieces of one of these printables! I'm offering this collage and a set of circle imprints free -- "Raven Dreams" is a downloadable, printable PDF that you can insert into your own projects. Just email me at swanmind@icloud.com and I'll email you a free PDF download.

FullSizeRender-4.jpg
Screen Shot 2017-08-22 at 1.15.31 PM.png


7 Easy Two-Minute Backgrounds for Imperfect Journal Pages

Art journal videos call journal entries "pages" since each one is like a little work of art. In my Imperfect Journal method, my writings fall somewhere between a diary entry and an art journal "page" and I don't think of them as works of art. To me they are processing aids or playgrounds or mini-inspirations to keep on going everyday -- relaxing and remembering to be grateful on the hard days or when battling the blues and records of joy and the pleasures of every day life on the good days.

However you think of your pages, your background is the place to start. Once I begin "messing" up a page, I may find myself ready to get the pen out and write or I may want to add layers and make it more about the colors and images than writing things down. Usually I prepare some backgrounds in advance so I can quickly sit down and scrawl if I feel like it. For a while in the beginning as I got started I gessoed a double page every night so they could dry as I slept and there were always a few prepped pages ready to play. 

Here are seven quick background ideas. Some work with and and some without. If you have regular pages in a journal like my favorite Leuchtturm, you will want to gesso a lot of the pages, but if you have a watercolor or mixed media book, it isn't always needed. Even if using a mixed media book with tough pages, I recommend adding gesso to some pages, just to enjoy the way the colors bloom and move around easily; the surface gives you more time to play before staining the pages. The cloudy, pale blossom on the pages helps to start making them your own and makes a sensuous ground that adds to the pleasure of playing with color and texture.

Try a few of these idea to get started creating vibrant, loose, easy backgrounds. All these methods are super easy. Materials I recommend include: gesso and matte gel medium, pan pastels in rose, turquoise, and yellow, a few Gelatos or gel crayons, any chalkboard acrylic paint, and/or any spray ink--and, of course, unscented wet wipes!

1. Pan Pastel Clouds -- with or without gesso, rub a soft make-up sponge over the pan pastel pot. In this case fingers don't work since the oils in your fingers will absorb rather than pick up the pigment. You need a dry little sponge -- these come with the pastels but you can get more at the dollar store in the make-up aisle. Rub the dry pigment across your page, circling and blending until you have lovely cloud of color. Use one color on the top of the page and another on the bottom if you wish and blend the middle into a delicious halftone. Or cover the whole page in one juicy tint. Voila! This surface is ready to write on without any more prep. It will be easy to add in stencils using a contrasting color of pan pastel or by wiping away pigment with your damp baby wipe.

As long as we don't use much moisture on this page, it works fine without gesso. The quickest way to get a little pop!

As long as we don't use much moisture on this page, it works fine without gesso. The quickest way to get a little pop!

2. Gel Crayon Stain--On a gessoed surface or mixed media paper scribble the color of the day here and there randomly across the page. Quickly take a fresh and damp wipe and blend -- some types, such as Gelatos or gel sticks, will almost wipe away and you'll need to add more pigment to get more color. Others, like Faber Castell brights or distress crayons will leave a nice stain right away. Each brand is a little different, so experiment -- there is no right or wrong--we just want to get some color on the page to inspire our writing or to start layering. Holtz Distress crayons will set very quickly and you'll be able to see the crayon-like marks, which is also fun. 

Here is a page of 180 media paper gessoed and wiped with turquoise, goldenrod and rose Gelatos.

Here is a page of 180 media paper gessoed and wiped with turquoise, goldenrod and rose Gelatos.

You can also apply pigment directly to the wet wipe and apply for a smoother look and to get more color right where you want it. See? You are already having opinions -- that is your style emerging!

3. Partitioning--(as an artistic rather than a political exercise! --oops, that's the historian in me!)....Draw in pencil on a page with or without gesso. Divide the page into six parts by lightly sketching in six rough boxes, creating a grid or just dividing the page with lines. Color your simple boxes in with Gelatos. Give it a gentle water mist with your spray bottle or blend with damps wipes to activate the color. 

You can also use watercolor paints for this. Slap an intense splash of color into each square. All the same color? Different colors? What do you choose? If you use watercolors, use plenty of water and relish the loose, vibrant pooling. Let them move around in your box -- it will look even better if you don't stay within the lines and let the colors splash into life. Into the wet area add more of the same pigment and watch it bloom and billow. 

Do the same in each box. Allow to dry or use the hairdryer to speed it up. Once dry, you can either outline the boxes with loose circles or leave them as they are.

4. Tissue paper--first, while your fingers aren't sticky (okay, lets face it--my fingers usually are) tear a piece of old tissue paper from last christmas, in a size somewhat like your page. On a page without gesso, use your fingers or a brush (brush is less messy, but like I said mine are usually sticky) spread a layer of gel medium quickly over the paper. Place your tissue across the page and smooth it down, using more gel medium on top if it seems dry or not sticking. Let it wrinkle and tear. Patch here and there if you wish. Use a second color if you have extra or add in anything else you might want to glue on like a ticket stub, receipt or a piece of pretty napkin. Artist tip:  Let a few pieces run off the page and glue down the extra on the other side of the page -- as if a little of today's color is spilling over into tomorrow. As soon as it is dry, you are ready to write or begin a collage or have a background for a mixed media experiment. 

Regular pink tissue paper applied with gel medium.

Regular pink tissue paper applied with gel medium.

If you are lucky, your tissue will bleed its color and create lovely little rivers of pigment. I order special bleeding tissue to get this effect, but be careful of staining!

5. Magazine pages--any magazine or trash from your junk mail will work. Even newspaper. Try the same technique as above only with torn pieces of pages or flyers. You can throw anything down, or choose colors, photos or phrases you like. When done, even while still damp, mute the aggressive tones with a thin layer of gesso or white or light colored acrylic paint. Suddenly that trash has become ephemera--you two for one pizza ad or sports scores fading into a dreamy background for words, memories, photos, or drawings.

Detail -- insurance bill. Do I have questions about my health?

Detail -- insurance bill. Do I have questions about my health?

A fragment of a bill, billing envelope, with magazine and catalogue scraps covered with white chalkboard acrylic, which is easy to write on. I love the texture and smeared it on with my fingers -- imperfectly!

A fragment of a bill, billing envelope, with magazine and catalogue scraps covered with white chalkboard acrylic, which is easy to write on. I love the texture and smeared it on with my fingers -- imperfectly!

When I do this, I often thing of my mother's newspapers and advertisements, or my grandmother's, or my great-grandmother's--news of the war in the pacific, advertisements for those new panty hose, seed packets or soap wrappers. Unimportant and annoying garbage at the time, but little mirrors into our days. 

A few ads from the 1930's newspaper my great-grandmother took.

6. A stencil makes one of my favorite backgrounds. I thought I'd like the more complex ones with trees or birds and butterflies, but my favorites are simple geometric shapes, wallpaper paisleys, or basic flowers and dots. This is pretty on either a page with gesso or without, but on a gessoed page you can remove color as well as add it! Lay your stencil across the page -- since this is the imperfect journal and our stencils always slip, we don't even have to affix it with a piece of masking tape. Getting it as flat as you can, wrap a damp wipe around your finger and rub a good coat of Gelato onto the end. gently wipe your color through the stencil, rubbing gently or dabbing. Too wet and some will seep through and puddle a little, but it still looks pretty. Renew the color and add it everywhere or just here and there so the color fades away. Artists Tip: be sure some parts of the stencil pattern run off the page--you'll be surprised how this adds dimension and life to the pattern!

A few stencils combined on a gessoed page. I can write across it, up, down, or sideways or add collage pieces later. These were don'e with gel crayons on a wet wipe -- the bronze was leftover on a used wipe but have life left in it!

A few stencils combined on a gessoed page. I can write across it, up, down, or sideways or add collage pieces later. These were don'e with gel crayons on a wet wipe -- the bronze was leftover on a used wipe but have life left in it!

Alternatively -- on a gessoed page rub Gel crayon on your damp wipe and stain the page. Lay down the stencil and use a clean are of the wipe to gently remove color, for an inverted pattern.

Try doing both on the same page! This will dry quickly, but you can speed it up with a hair dryer.

7. The fastest of all -- ink spray! You can buy gorgeous ink sprays or make your own. My favorites are Diane Reavely's Dylusions Collection, because they never clog and the colors are glorious and brilliant. A little goes a long way, though and they can leave through even a gessoed page -- so use this to your imperfect advantage. You can put a sheet of waxed paper under your page to prevent bleed-through, but I kind of love the way intensity seeps into the empty pages ahead--to me it is like the mood of an especially sunny day that seems to pervade three or four days to come. Or even like the sadness of a blue mood that stains a whole week. The color range of our days is so vast and all the shade word together to make art of our lives.

Here I am sharing with a you a page that I hated and was going to gesso over. I was tired and nothing worked out right -- but when I added the intense rusty red spray ink and it began to bleed -- I decided to keep it. It was one of those days and I …

Here I am sharing with a you a page that I hated and was going to gesso over. I was tired and nothing worked out right -- but when I added the intense rusty red spray ink and it began to bleed -- I decided to keep it. It was one of those days and I made my mark.

On a plain or gessoed page spray a little mist of color. That may be enough! Or let it pool and drip and help the drips find their way back and forth across and down the page by tilting the journal. Blot if you wish. Mop if you wish. Spray with clear water and watch the color shift and glow. Artist's Tip: Make your own spray colors by buying (or rescuing) little spray bottles (usually a couple dollars for three at craft stores or superstores.) Fill the bottle with water and a drop of india ink, watercolor, liquid acrylics, or shavings from your gel sticks. Any water soluble dye or ink works and you can use the intense inks in a watered down form for more pastel effects.  

spray inks in green and yellow AND purple over a collage and a whirl wind stencil. This was a discard torn cover of an old Dulac fairy tale book...

spray inks in green and yellow AND purple over a collage and a whirl wind stencil. This was a discard torn cover of an old Dulac fairy tale book...

I can't get enough of the soft colors and random effects of spray inks and I confess that I want them all. When I have a page that I am not happy with, often a big spray of white ink or a bold distress ink just randomizes and unites the whole page in a way that delights me. 

So those are seven easy ways to create a page background. Sometime I create a page this way and I like the blank pages so much -- I just leave it blank! Or add a few stamps and love it the way it is. It made me feel good to mess the page up. I made a mark! Sometimes making a mark is all that it takes to give a creative person that mysterious feeling of -- art. If you feel like writing on your page, hurrah! If you feel like obscuring what you wrote with a cloud of gesso or a spray of scarlet ink--that's fine to. You came to play. 

So go out and make a mark! 

Finding Your Unique Artistic Style: Dare to Fail

For me the key to establishing an on-going, mostly regular practice has come down to two things: self acceptance and throwing out all the rules. I tend to make quite a few rule for myself without even realizing it.. We limit ourselves more than anyone else limits us! At first, I tried really hard to produce perfect scrap-book type pages with measured borders and crisp stamps. I tried and ... failed.  Mine were all.... well....sloppy! At first I was mad at myself.Why couldn't I make them "correctly?"

During this period I was suffering depression and I found  pleasure in the process of "messing up pages" and so had no alternative but to keep going even though the results were not what I had imagined.. After a few weeks I looked back over the wild, colorful and messy  pages and suddenly realized that, while each page was imperfect, the pages taken together made a book that was undoubtedly beautiful! I thought that if I found two journals on a park bench--one perfect, neat, organized and full of perfectly legible handwriting and one bursting at the seams with color and jumbled collections of life, I would always prefer to explore the wild one. And now I was creating just such a chaotic and artistic book!


It took me more than a year to understand that through my "sloppiness" and apparent randomness my own artistic style was emerging. In fact my "style" was growing stronger and stronger until even I could recognize it. What I perceived as failure, in reality had become my greatest success as my own intense voice and vivid style struggled to emerge. 

 The more pages I finished, the more I wanted to try painting and collaging outside of the journal, I craved training and education on techniques of drawing and painting.  The little practice of slapping stuff on a journal page for an easy background to a wild scrawl had, over time, made it easier to  take risks in online drawing and painting courses. Gradually I realized that I HAVE an artistic style and that it emerged only after I started to play and stopped that panel of obnoxious judges from analyzing everything. In my inner panel ALL the judges are Simon Cowell. Those critical judges were often right: they knew crap when they saw it! They recognize what I was trying for and how far I was from where I wanted to be. The inner judges didn't understand one crucial point however. Only by failing, time and again could I succeed. Only by trying could I get anywhere. By creating a safe and colorful spot where my failures became my successes I was able to grow--artistically, spiritually, and personally.

 .Only by escaping the totalitarian dictatorship of my inner judges could I find a voice that had artistic merit. Only by repeatedly rejecting my own perfectionism could I begin to be myself. And I had to be  myself in order to create work, in  in art and in writing, that  expressed my own personal esthetic. People began to notice and to recognize my "style" In fact, other people noticed long before I did.

This journal process continues to help me record and feel gratitude and to take pleasure in my life. It helps me distill a confident and successful personal style in all my business and creative work. I began to see  how it could work for others. I got the chance to teach some classes on the "Imperfect Journal." The more you teach, the more you learn.

 Little by little this very imperfect journal helped me to see my life in a new light. Colorful, wild, full of mistakes and improvisations, bursting with rich colors and evocative images, shifting with moods and reflecting the highs and lows of  a passionate life, my journal became more an inspiration and a comfort than a record. 

The book became a metaphor for life--every day may not be perfect, but the sum of all my days is a beautiful life. When I try to make my life look perfect the result is arid and unsatisfying. Only by becoming as free as my journal, by bursting my seams with joyful choices can I inhabit the life that is mine alone and only by living my own specific life can I create and produce authentically in the world.

An Introduction to the Imperfect Journal

The Imperfect Journal is a innovative and simple way of journaling that combines the freedom and fun of art journaling with the record-keeping and thought-processing aspects of traditional written diaries. Using a few easy techniques we can create a journal "home" where anything is possible.  Relax, play, let go of the inner critic! Using this simple and quick method, anyone can succeed at a journaling practice and almost immediately see and feel the results of playing, dreaming and dancing among the images and elements of our daily lives. 

The idea of the Imperfect Journal came to me after twenty years of struggling to maintain a journal practice. Although all my instincts indicated I would benefit from writing or drawing every day, time after time I found myself unable to keep up the practice.  I'd buy an new journal, fall in love with the perfectly lined pages, choose a free-flowing pen and begin. In fact I began again and again. And time and again I failed. 

Most of these beautiful books are still on my shelves--each containing only a few pages of discouraging introspection. After a few weeks, I invariably found myself hating my handwriting, hating my sentences, even hating my thoughts. If I tried a sketch journal I hated my drawings, clumsy and misshapen. Rather than increasing my creativity, my attempts made me more and more sure that I had nothing creative to offer and often stifled my creative instincts. 

The desire for an examined life was strong. I loved the journals I read from history. I wished my grandmothers and great grandmothers had recorded their thoughts and feelings to help me through my life. Over the years I tried the Progoff Journal Workshop, dream journals, reading journals and idea journals, as well asndaily planners and notated sketchbooks. It was not until the last few years, as I found myself in a time of intense change, battling health issues and the shock of approaching 60 and struggling with various personal crises that I finally created for myself a workable and exciting journal practice. I developed a simple method incorporating all the elements I needed and easy enough to allow me to keep up even when I was ill or tired or depressed.

Inspired by Brene Brown's work on vulnerability and perfectionism, I completed her course on Oprah's website. I watched dozens of YouTube videos on art journaling, and sorted through hundreds of options for types of journals as well as art and writing products to find the best quality giving the most bang for my limited budget buck. Initially most of the information and techniques I found online involved the creation of individual art journal "pages" with inspirational sayings. While very pretty, these art journals didn't meet my need to keep a record of my life and to process (and often re-process!) problems, experiences and ideas. When at last I hit on a combination of techniques that worked for me--it really began to work on every aspect of my life! 

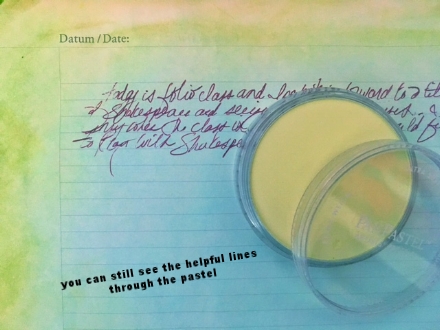
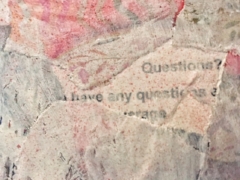
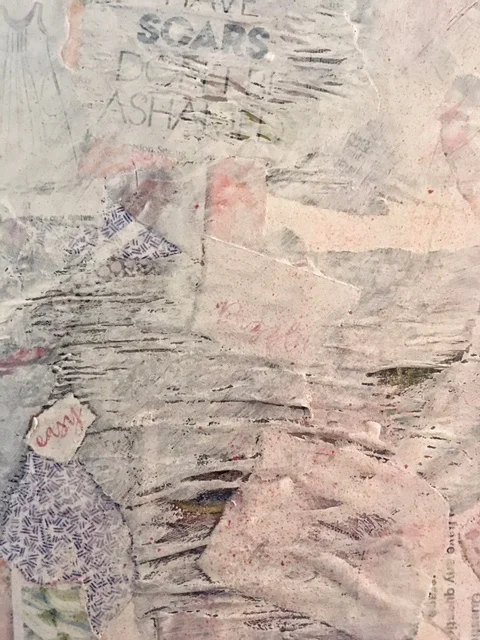
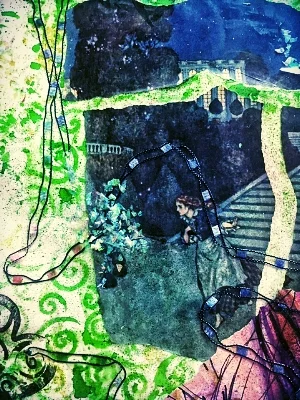
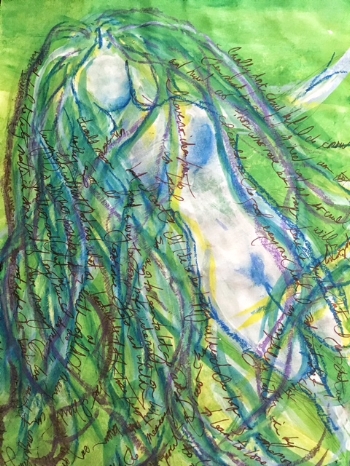
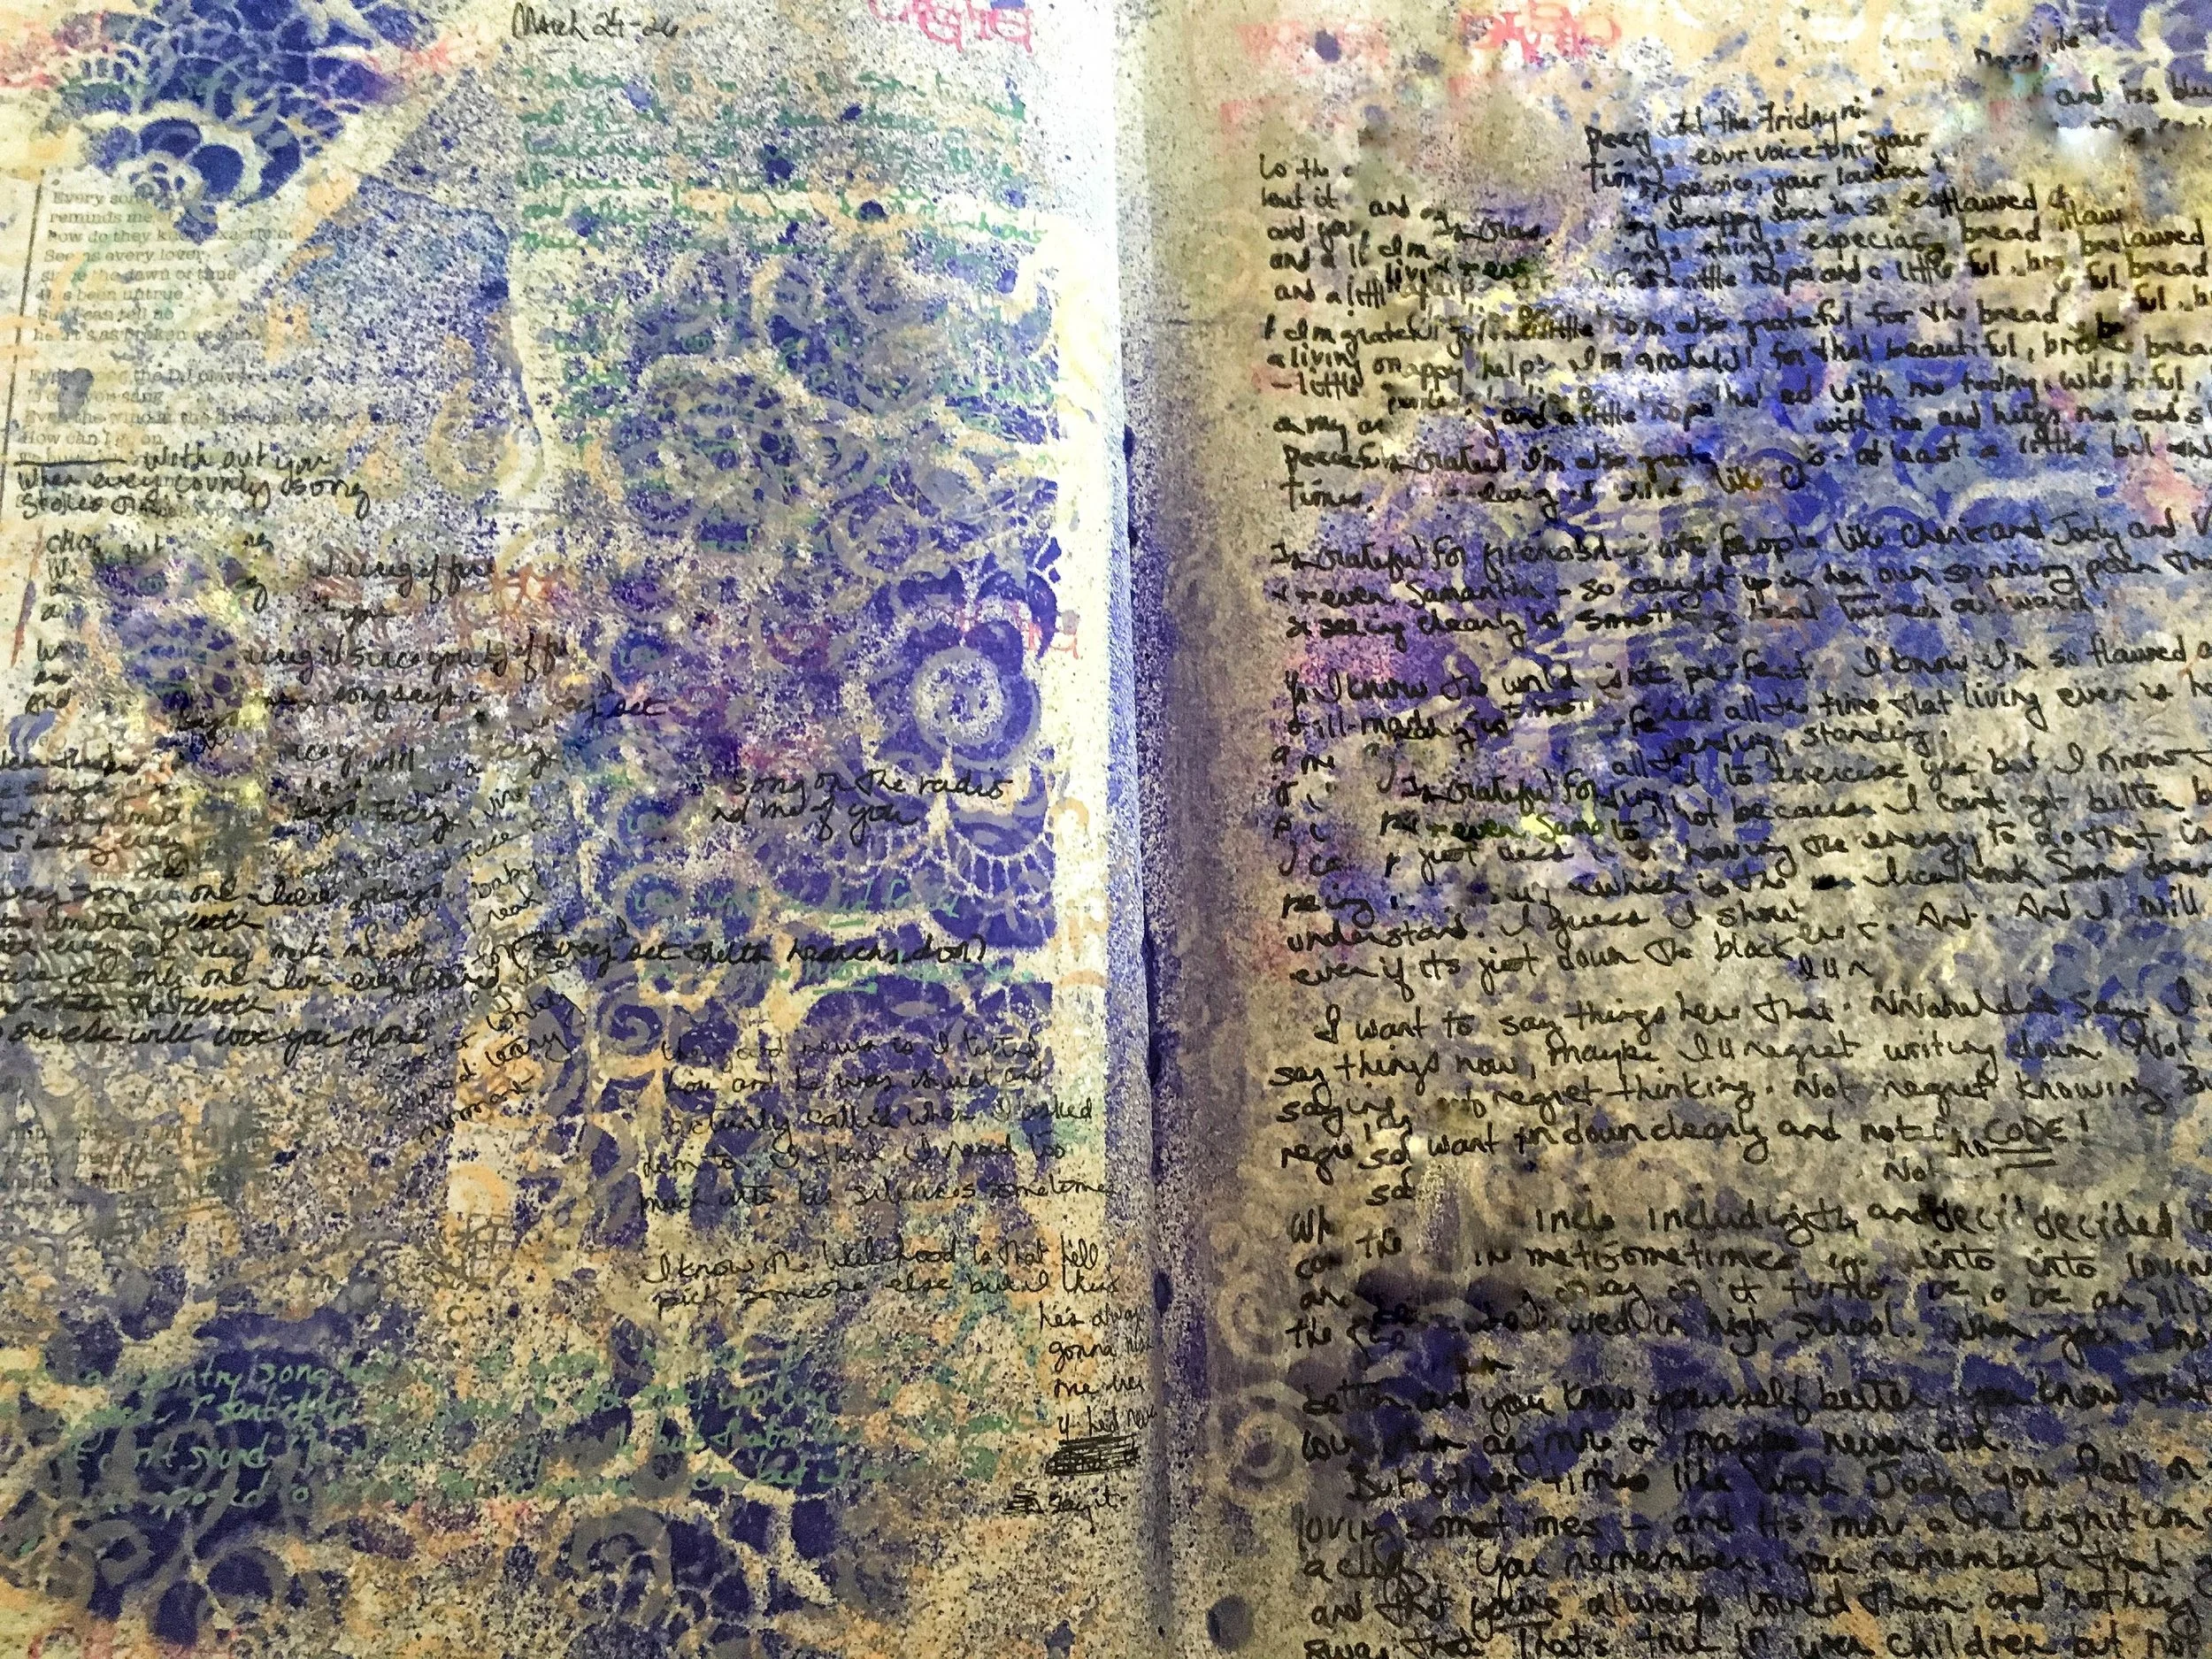
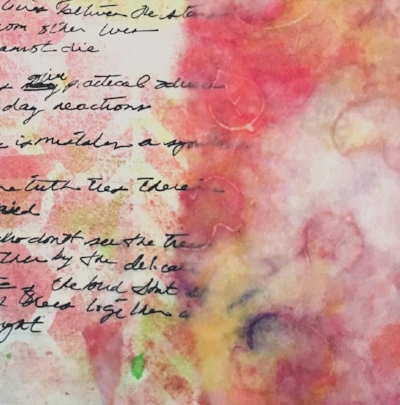
The process of keeping the "Imperfect Journal" involves setting a goal of moving forward and not tearing any pages out and setting an internal intention to uncover my most authentic self by letting go of my inner perfectionist and replacing my critical inner guest panel of judges with supportive and inspiring inner mentors. I use all kinds of art supplies and techniques and I write, mark and scrawl. I even found ways to get around my dislike of my own handwriting--a common hurdle for new journalers.

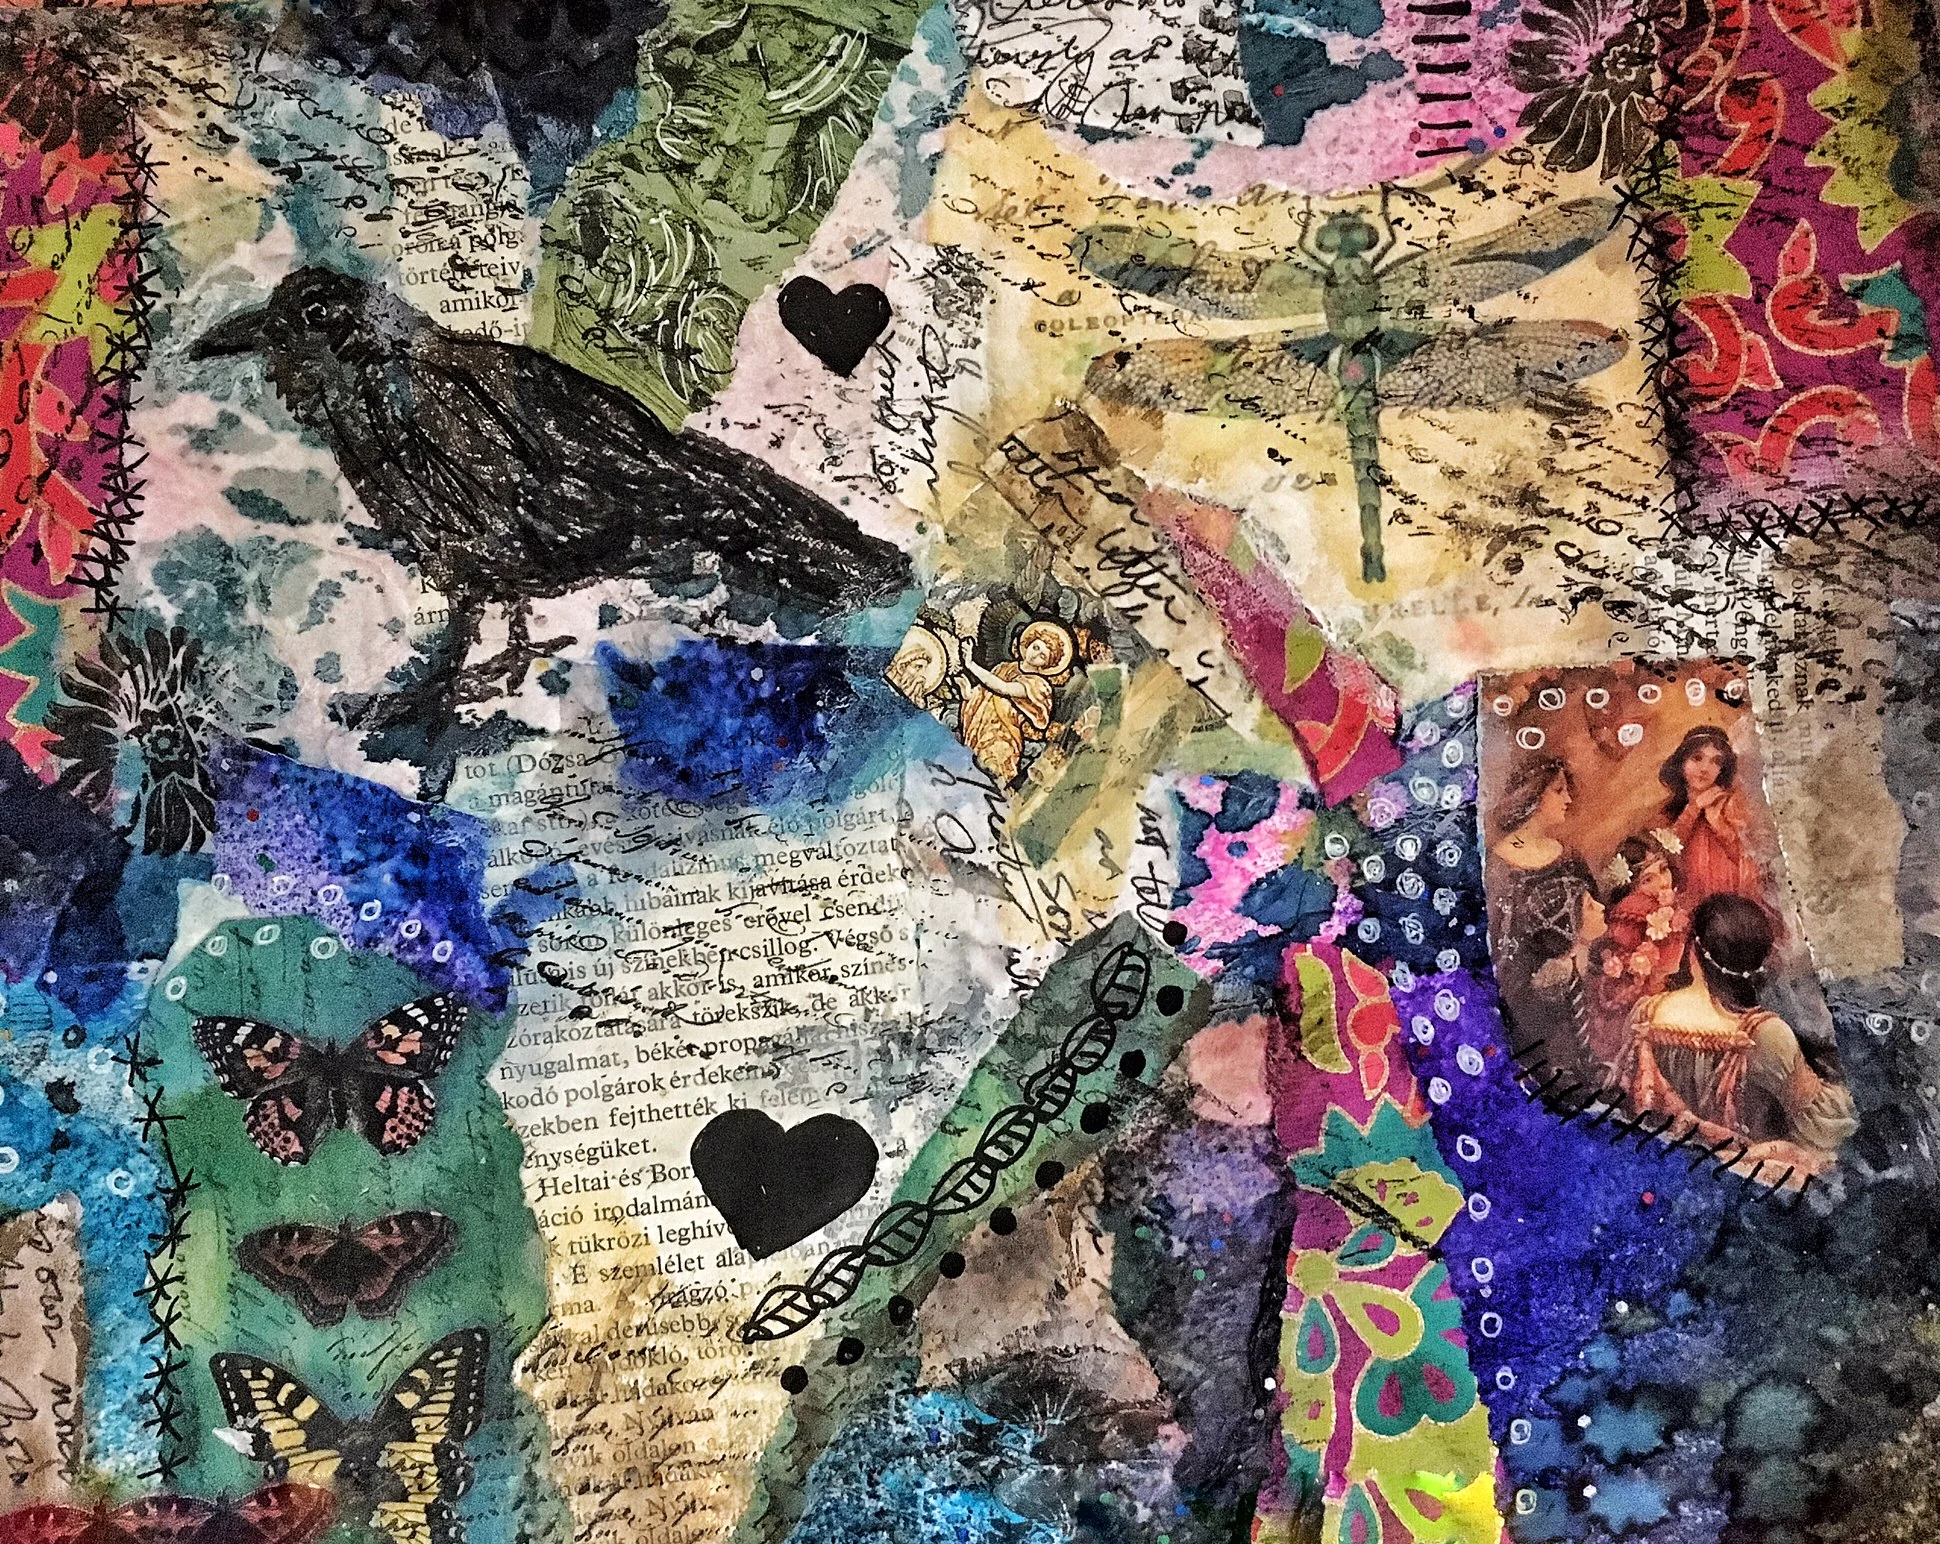
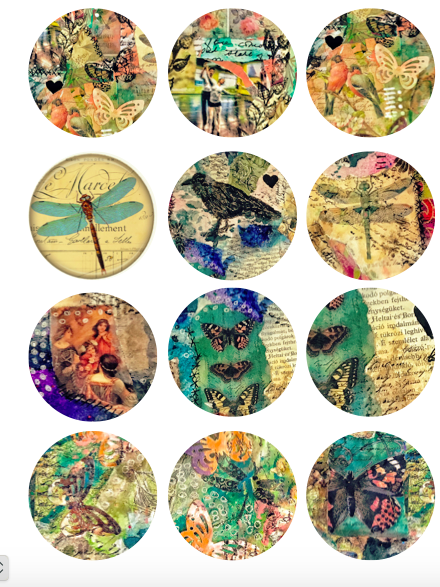
My process involves creating quick beautiful backgrounds and then messing them up with my thoughts. Oddly enough, once I've made an appealing mess on a page, I lose my inhibitions about marking it up. As these messy and colorful pages accrue, I find that I develop an affection for them and for my life in general.  That acceptance and appreciation goes a long way towards healing the wounds inflicted over the years by the inner critic. 

My process goes something like this:

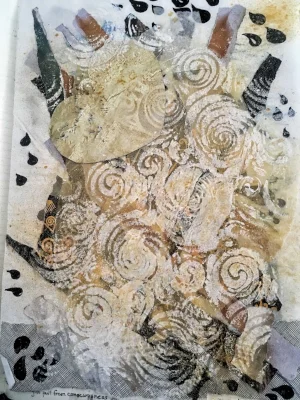
1. Create a background -- using collage, paints, inks, sprays and layers to create a writable surface. This can take as little as two minutes or evolve into an hour of meditation. 

2. Decorate the background to suit my mood applying stamps, stencils, collage, glitter, drips, sprays, and pasting in my own ephemera and souvenirs of the day....whatever pleases me. The process of choosing, pleasing only one's self, is the first step to recognizing and claiming a personal style.

3. Write --sometimes in bright contrast and be easily readable and other times in colors and layers nearly invisible even to myself. Legible or illegible, the very act of writing is a statement of acceptance and power. Every time you write something down and mark the page you begin to manifest real things in the real world.

writing.jpg

4. Work ahead --I use leftover pigments to begin pages further on in the journal and finish them in later weeks and months. This way I don't waste anything and always have a messed up page where I can start next time I pick up the journal. Sometimes these start out pretty ugly, but usually they turn into surprisingly beautiful starting points. If I don't like what I get, I gesso over the page and the gently bleed-through of the first layer makes a rich starting point for a new entry.

5. Time layers--I go back and forth in time, adding and noting on earlier pages as new ideas and conclusions emerge and letting a few words or images distill on mostly empty pages until it feels right to fill them out. This loosening of the harsh grip of a timeline allows larger themes to emerge over time, which in turn, keeps me interested as new patterns in my own thinking are revealed. 

6.  Some pages don't need words. Just the colors make me happy.

7. Incorporate my other practices of prayer, gratitude or study into this journal home. Whatever I'm doing at the time: travel, Christmas baking, yoga, meditation or the latest thriller I'm reading-- all are fodder for my journal. I learned to make a regular practice of printing the photos off my phone to add a special and personal dimension that makes reviewing past work a great pleasure and reminds me in a very personal way how much there is to love in my life as is is right now.

8. Journaling as mindless relaxation--ten or fifteen quiet minutes of pasting and painting is a great way to detach from the stresses of the day, but many times for me it is those evenings on Netflix that become the most productive time. With the TV going, my journal in my lap and a pot of glue--journaling no longer seems a serious endeavor and I use time that would've been "wasted" anyway. The sound of the TV gets me into a non-thinking zone. Perhaps my intellect watches TV and my right brain destroys journal pages in the most wonderful ways.  Watching TV and journaling has become a peaceful retreat for me, although it IS impossible to read subtitles!

8.. Add in personal ephemera. While you can purchase pretty stickers and papers, don't forget the beauty of the scraps of your own life. Gold foil from a chocolate bar, scraps of gift wrap, ticket stubs, catalogue photos, the pretty wrapping from a bar of soap, letters, take-out menus, postcards and greeting cards, even torn pieces of bills become fodder for my pages. Any art attempts I'm dissatisfied with I tear into pretty little pieces for collage. I keep a ziplock bag full of little goodies and add them in as I go. Don't forget to copy in a quote or poems from current reading, recipes and news articles.  You can glue them in or leave yourself a little present in a hidden envelop or pocket. If in doubt about whether a scarp is pretty enough, ask yourself  how you'd feel now about seeing your great-grandmother's telephone bill or grocery list--it would be priceless!


I plan to document in this blog my adventures as I go further in finding my creative voice. I'll provide a multitude of tips and tricks discovered over the last two years. After sifting through hundred of videos, books and blogs I will link those most useful. I'll review the standout products among the ever-expanding market of  fabulous art supplies, many created especially for art journaling and help you find out which are the most versatile and budget friendly. I will cover the basics you need to start your own imperfect journal and recommend books, websites, artists, classes, and other fun extras that can keep the creative juices flowing over time, renewing your creativity and finding your own strong voice.  Together we will  explore all kinds of research into creativity and productivity and interview talented fellow explorers.  As I find my way, I hope I can offer some short cuts and some encouragement as you navigate the mysteries of  your own imperfectly exquisite life.

a plain background with writing hidden by a parchment flap. Pen embellishment, acrylic stenciling

a plain background with writing hidden by a parchment flap. Pen embellishment, acrylic stenciling